こんにちは。
最近、登山をにハマり始めた武田です。
今回は [Electron] なるものを触ってみたいと思います。
Electronって何?
- クロスプラットフォームに対応したデスクトップアプリ開発ができるオープンソースソフトウエア
- 対応OSは Mac, Windows, Linux
- 実装にはウェブ技術で可能
- HTML5
- CSS
- JavaScript
- 実運用されている例
- Slack
- Atom
- Visual Studio Code
ウェブプログラマーの私にぴったりですね!
※近頃は色んな所でクロスプラットフォーム対応の開発環境を見かけますね。
ほんとにスゴイ時代になったもんです。。。
実験環境
- Windows 10(64bit)
- node.js 6.2.2(x64)
インストール
とりあえず環境整えないと話進まないですな。
- node.jsのインストール
- node.js公式からダウンロード
- 今回は node-v6.2.2-x64.msi を利用します。
- ダイアログにしたがって普通にインスール
- Electronのインストール
- node.jsを入れたのでコマンドプロンプトから動かせるはず。(windowsでnode.jsって動くのかしら。。。)
- コマンドプロンプトから以下のインストールコマンド打つ
npm -g install electron-prebuilt
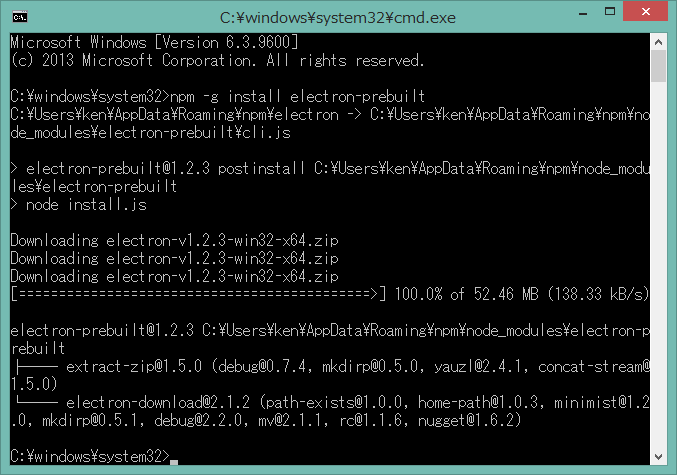
ちゃんとインストール作業に入ってますね。
- 続いでアプリを配布可能にする[Electron-packager]のインストール
npm -g install electron-packager
こっちもなんなくOK!
Electronのチュートリアルを触ってみる
簡単なアプリケーションを作りたいですね。
チュートリアル(Electron Documentation Quick Start)があるのでやってみましょう
以下のフォルダ構成でファイルを作ります。
your-app/
├── package.json
├── main.js
└── index.html
- package.json
{
  "name"    : "your-app",
  "version" : "0.1.0",
  "main"    : "main.js"
}
よくある設定ファイルな感
- main.js
const electron = require('electron');
// Module to control application life.
const {app} = electron;
// Module to create native browser window.
const {BrowserWindow} = electron;

// Keep a global reference of the window object, if you don't, the window will
// be closed automatically when the JavaScript object is garbage collected.
let win;

function createWindow() {
  // Create the browser window.
  win = new BrowserWindow({width: 800, height: 600});

  // and load the index.html of the app.
  win.loadURL(`file://${__dirname}/index.html`);

  // Open the DevTools.
  win.webContents.openDevTools();

  // Emitted when the window is closed.
  win.on('closed', () => {
    // Dereference the window object, usually you would store windows
    // in an array if your app supports multi windows, this is the time
    // when you should delete the corresponding element.
    win = null;
  });
}

// This method will be called when Electron has finished
// initialization and is ready to create browser windows.
// Some APIs can only be used after this event occurs.
app.on('ready', createWindow);

// Quit when all windows are closed.
app.on('window-all-closed', () => {
  // On macOS it is common for applications and their menu bar
  // to stay active until the user quits explicitly with Cmd + Q
  if (process.platform !== 'darwin') {
    app.quit();
  }
});

app.on('activate', () => {
  // On macOS it's common to re-create a window in the app when the
  // dock icon is clicked and there are no other windows open.
  if (win === null) {
    createWindow();
  }
});

// In this file you can include the rest of your app's specific main process
// code. You can also put them in separate files and require them here.
アプリケーション部分っぽいですな。
- index.html
<!DOCTYPE html>
<html>
  <head>
    <meta charset="UTF-8">
    <title>Hello World!</title>
  </head>
  <body>
    <h1>Hello World!</h1>
    We are using node <script>document.write(process.versions.node)</script>,
    Chrome <script>document.write(process.versions.chrome)</script>,
    and Electron <script>document.write(process.versions.electron)</script>.
  </body>
</html>
テンプレート
一部JS含み
processという変数から動的にelectronの情報引っ張ってこれてるようです。
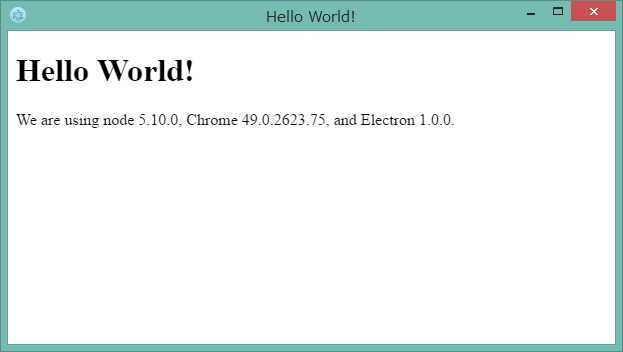
では動かしてみましょう!
動作確認はこのコマンドでビルドすればOKです。
electron .
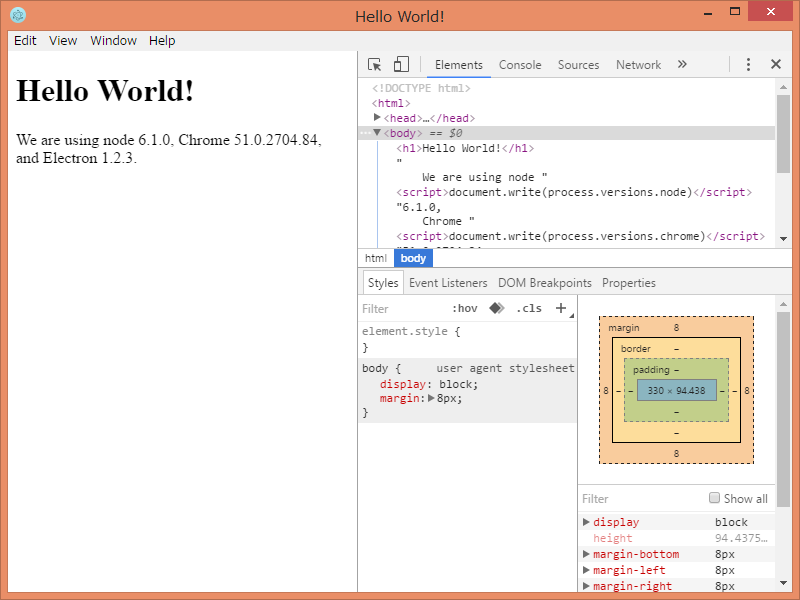
アプリケーションとして動作してますね。
Chromeデベロッパツールっぽいのが付ついててGood!
他の環境で使えるようにする
これを配布できる形しましょう。
パッケージングするソフト[electron-packager]があるのでこれを利用します。
electron-packager . your-app --platform=win32 --arch=x64 --version=1.0.0
- 引数
- 対象のアプリのディレクトリ
- アプリケーション名
- アプリケーション動作させる環境 [ linux(linux) darwin(mac), win32(Windows), mas(Mac App Store) ]
- 構築環境のbit数 [ x64(64bit), ia32(32bit) ]
- electronのバージョン指定
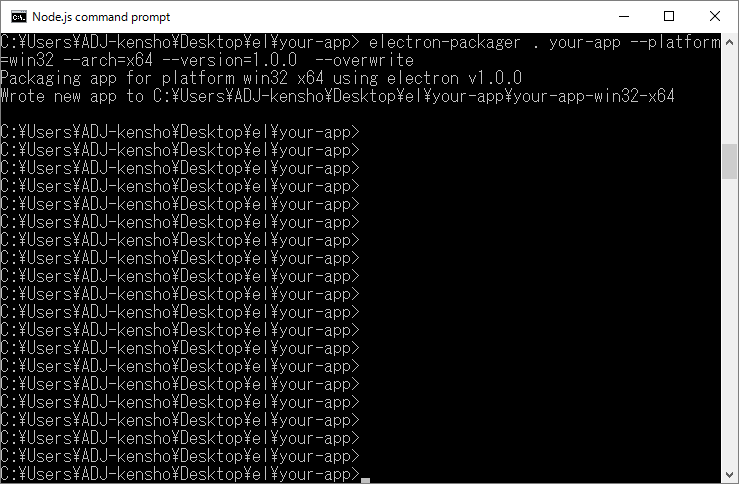
無事にパッケージとしての書き出しができたようです。
では他のPCでも動くか試しましょう
別のWindows
ちゃんと別環境でOSが別でもきちんと動作しております。
なかなかにすぐれものですな。
なんか作ってみる
本ブログのアクセス数増加のため[sudo rm -rf /]専用リーダーを作りましょう。
基本的には先のQUICK STARTをベースにします。
- package.json
{
  "name"    : "sudo rm -rf / リーダー",
  "version" : "1.0.0",
  "main"    : "main.js"
}
ほぼ変わらず。
名称とバージョン指定くらい
- main.js
const electron = require('electron');
const {app} = electron;
const {BrowserWindow} = electron;
let win;

function createWindow() {
  win = new BrowserWindow({width: 800, height: 600, webPreferences: { nodeIntegration: false } });
  win.loadURL(`file://${__dirname}/index.html`);
  win.webContents.openDevTools();
  win.on('closed', () => {
    win = null;
  });
}

app.on('ready', createWindow);

app.on('window-all-closed', () => {
  if (process.platform !== 'darwin') {
    app.quit();
  }
});

app.on('activate', () => {
  if (win === null) {
    createWindow();
  }
});
今回はテンプレート側でjqueryを利用したいのでちょっと調整
BrowserWindowへの引数として nodeIntegration: false を追加
そのままだとJqery動かせないみたいです。
Electron FAQ
※コメントはスペースの関係で割愛しました。
- index.html
<!DOCTYPE html>
<html>
<head>
<meta charset="utf-8"></meta>
<title>sudo rm -rf / RSSリーダー</title>
<script type="text/javascript" src="http://ajax.microsoft.com/ajax/jquery/jquery-3.0.0.js"></script>
<script type="text/javascript" src="http://ajax.microsoft.com/ajax/jquery.templates/beta1/jquery.tmpl.js"></script>
<script>
// jqueryで本ブログのrssを取得
$(document).ready(function(){
    url = '/feed/';
    $.get(url, function (data) {
        var list = [];
        $(data).find("item").each(function () {
            var el = $(this);
            // templateへ渡せるようにデータを成形
            list.push({
                'link' : el.find("link").text(),
                'title' : el.find("title").text(),
            });
        });
        // 組み立てたデータをjquery-templateで差し込み
        $('#template').tmpl(list).appendTo("#contents");
        console.log(list);
    });
});
</script>
</head>
<body>
<h1>sudo rm -rf / RSSリーダー</h1>
<ul>
    <span id="contents"></span>
</ul>
<script id="template" type="text/x-jquery-tmpl">
    <li>
    <a href="${link}" target="_blank">${title}</a>
    </li>
</script>
</body>
</html>
・ほぼプレーンなHTML
・RSSの取得及びデータの成形はjqueryを利用
・表示部は jquery-template を利用
ではビルドしてみましょう
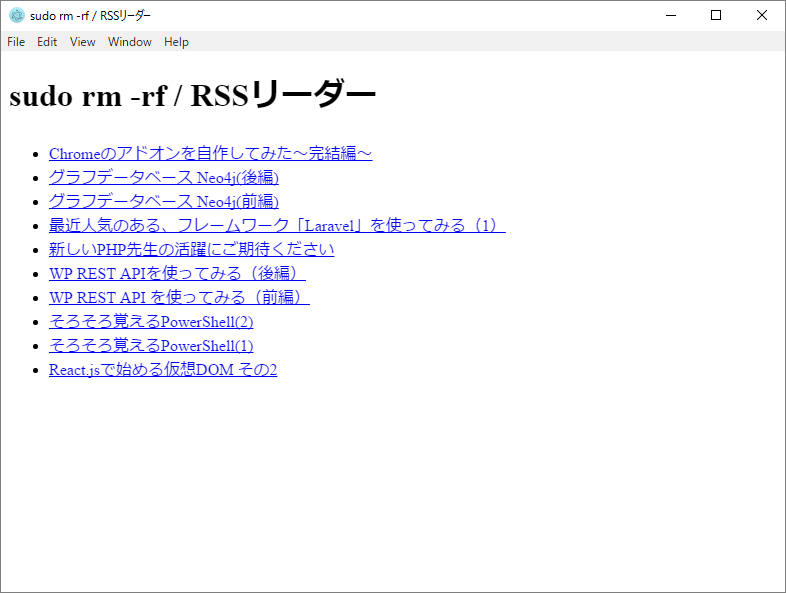
動作しましたね。
ブログのフィードも取得できるているようです。
一覧だけみてもしょうがないので上の記事をクリックしてみましょう。

Electronの別ウインドウが立ち上がる形で記事が読み込めました!
※メインのブラウザが立ち上がるのかと思った。。。
ひとまずブログリーダーとしては動いてますね。
ただ見た目があまりに寂しい。なんとかしたいですね。
ウェブの技術が使えるのですからbootstrapでも使って簡単に整えてみます。
- package.json
変更なし
- main.js
const electron = require('electron');
const {app} = electron;
const {BrowserWindow} = electron;
let win;

function createWindow() {
  win = new BrowserWindow({width: 800, height: 600, webPreferences: { nodeIntegration: false } });
  win.loadURL(`file://${__dirname}/index.html`);
  // win.webContents.openDevTools(); 開発ツールは非表示に変更
  win.on('closed', () => {
    win = null;
  });
}

app.on('ready', createWindow);

app.on('window-all-closed', () => {
  if (process.platform !== 'darwin') {
    app.quit();
  }
});

app.on('activate', () => {
  if (win === null) {
    createWindow();
  }
});
開発ツールは非表示に変更
- index.html
<!DOCTYPE html>
<html>
<head>
<meta charset="utf-8"></meta>
<title>sudo rm -rf / RSSリーダー</title>
<script type="text/javascript" src="http://ajax.microsoft.com/ajax/jquery/jquery-3.0.0.js"></script>
<script type="text/javascript" src="http://ajax.microsoft.com/ajax/jquery.templates/beta1/jquery.tmpl.js"></script>
<link rel="stylesheet" href="https://maxcdn.bootstrapcdn.com/bootstrap/3.3.6/css/bootstrap.min.css">
<script src="https://maxcdn.bootstrapcdn.com/bootstrap/3.3.6/js/bootstrap.min.js"></script>
<script>
// jqueryで本ブログのrssを取得
$(document).ready(function(){
    url = '/feed/';
    $.get(url, function (data) {
        var list = [];
        $(data).find("item").each(function () {
            var el = $(this);
            // templateへ渡せるようにデータを成形
            list.push({
                'link' : el.find("link").text(),
                'title' : el.find("title").text(),
            });
        });
        // 組み立てたデータをjquery-templateで差し込み
        $('#template').tmpl(list).appendTo("#contents");
        console.log(list);
    });
});
</script>

</head>
<body>
<h1 class="display-1">sudo rm -rf / RSSリーダー</h1>
<ul class="list-group">
  <span id="contents"></span>
</ul>
<script id="template" type="text/x-jquery-tmpl">
    <li class="list-group-item">
    <a href="${link}" target="_blank">${title}</a>
    </li>
</script>
</body>
</html>
- bootstrap関連のファイルを追加
- H1 ul liにclass追加
これで動かしてみましょう
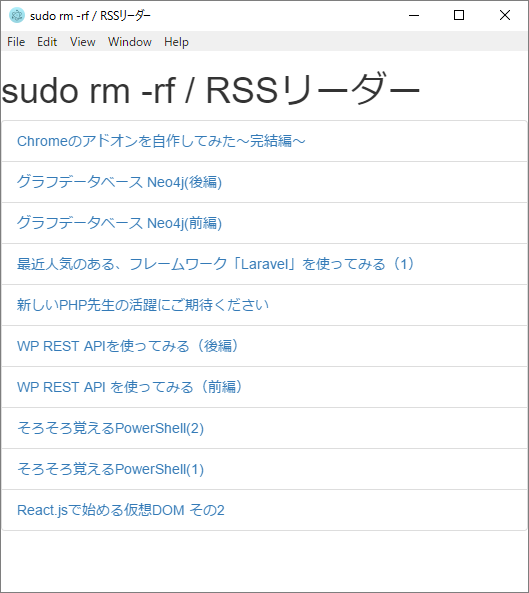
それなりに見れる形になりましたね。
このアプリケーションをDLできるようにしておきますので
操作感とか試されたい方いたら使ってみてください。
sudo rm -rf / 専用リーダー(Windows用)
※解凍後、[blog-rss.exe]を実行してください。
まとめ
ざっと触ってみたElectronですがいかがでしょうか?
ウェブの技術をベースにデスクトップアプリが作れるってのはやっぱり夢が広がりますね。
Electron自体がガツガツ開発中のようでもうちょっと枯れるまでは
様子見たほうがいいかなとかも思いますが、なかなか楽しい開発環境だと思います。
是非是非、触って体験してみてください。
参考
- Electron Documentation / Tutorial / Quick Start
- Electron 1.0でデスクトップアプリ開発超入門――動作の仕組み、基本的な使い方、セキュリティの懸念点
- 30分で出来る、JavaScript (Electron) でデスクトップアプリを作って配布するまで
- Electron レンダラプロセスでjQueryのrequireができない
コメントを残す